A heating leak can damage flooring, walls and furniture within minutes. A calm response can limit the spread while protecting everyone in the property. This guide explains how to stop the heating, contain escaping water, identify immediate hazards and collect useful information before arranging a safe, professional inspection or repair.
Discovering water beneath a radiator can cause immediate panic, especially when the heating is running and the floor is vulnerable. The first ten minutes matter because even a slow drip can spread beneath carpets, laminate or fitted furniture. A leaking radiator may result from a worn valve, loose joint, damaged seal or internal corrosion. Your priority is not to complete a permanent repair. It is to protect people, reduce water flow and prevent avoidable damage until professional help arrives. Acting in a safe order also makes it easier to identify the source and explain the problem accurately to a heating specialist.
1. Minute One: Keep Everyone Away
Move children and pets out of the room immediately. Radiator water may be hot enough to cause injury, particularly when the heating has been operating for some time.
Do not touch the radiator, valves or surrounding pipework with bare hands. If water is spraying forcefully, the radiator appears unstable or the ceiling below is affected, leave the immediate area and contact an emergency professional.
Water near sockets, extension leads or electrical equipment creates an additional hazard. Do not step into pooled water to unplug anything. Switch off the relevant electrical circuit only if the consumer unit can be reached safely without crossing the wet area.
2. Minutes Two and Three: Switch Off the Heating
Turn off the central heating using its normal controls. This stops the boiler from continuing to heat and circulate water through the system.
Do not remove the boiler casing or interfere with internal components. If the controls do not respond, the boiler displays an error or you are uncertain how to turn it off, contact a qualified heating engineer.
The radiator and water may remain hot after shutdown, so continue treating both cautiously.
3. Minutes Four and Five: Reduce the Water Flow
If the leak is small and the valves are safe to reach, close the thermostatic or manual valve by turning it clockwise. The valve at the opposite end may be a lockshield valve covered by a cap.
Only adjust controls you recognise and can operate without force. Do not dismantle a valve, loosen a connection or use tools on hot pipework. An incorrect adjustment could increase the leak or damage the fitting.
If water is escaping from the radiator body rather than a connection, closing both valves may help isolate it. However, corrosion or a hole in the metal generally requires professional assessment and may make replacement the safer long-term option.
4. Minutes Six and Seven: Contain the Escaping Water
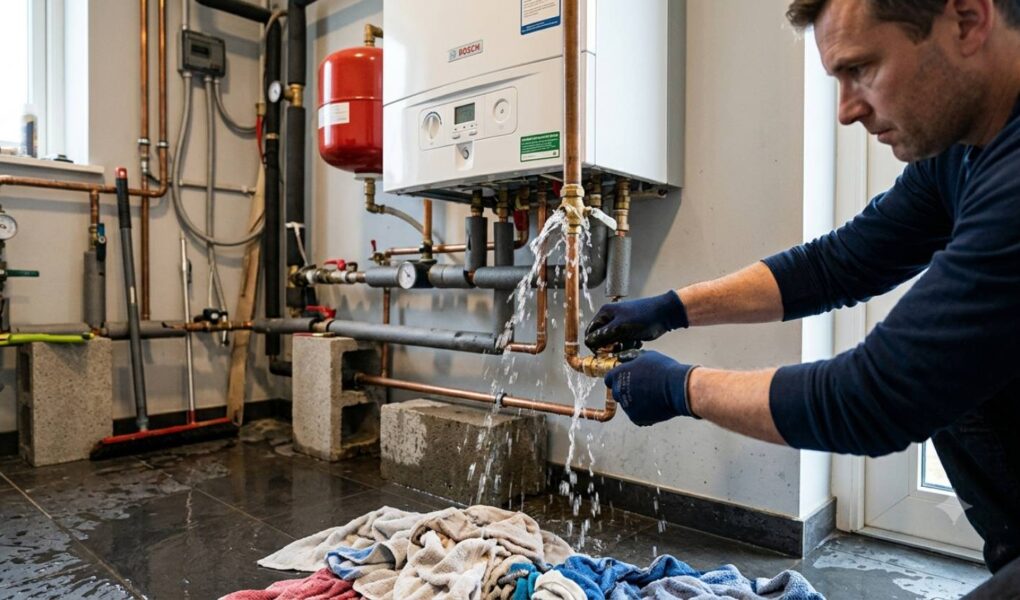
Place a bowl, tray or bucket beneath the drip if it can be positioned safely. Use old towels around the container to absorb splashes and prevent water spreading across the floor.
Protect nearby furniture by moving it away from the affected area. Lift curtains, electrical cables and absorbent belongings clear of the water.
Do not press heavily against a corroded section. Thin metal can fail suddenly, turning a slow drip into a larger escape of water. Patch kits and sealants may appear convenient, but they should not be treated as permanent solutions.
5. Minutes Eight and Nine: Protect the Floor
Blot hard flooring and carpet with clean, absorbent towels. Avoid rubbing water deeper into carpet fibres. If practical, lift the edge of a removable rug and allow air to reach the surface beneath it.
Water can travel under laminate, engineered wood and skirting boards before visible pooling develops. Check the area beside and behind the radiator, but do not attempt to remove a fixed unit.
When a leaking radiator is positioned upstairs, inspect the ceiling directly below. New staining, dripping or bulging plaster may indicate that water has travelled through the floor structure. Keep people away from any visibly weakened ceiling.
6. Minute Ten: Record the Evidence and Call for Help
Take clear photographs of the leak, surrounding floor and visible corrosion before drying everything completely. Note whether water is coming from a valve, pipe joint, bleed point or the radiator panel.
Check the boiler pressure display without changing any settings. Falling pressure can support the diagnosis of a system leak. Tell the heating professional when the leak began, whether the heating was running and what action you have taken.
Persistent dripping, severe corrosion, repeated pressure loss or widespread water damage requires prompt professional attention. A damaged radiator may be unsuitable for continued repair, particularly when age and internal corrosion have weakened the metal.
Conclusion
The first ten minutes of a heating leak should focus on safety, isolation and damage control. Keep people away from hot water, watch for electrical hazards and switch off the heating through its normal controls. Close accessible radiator valves only when you recognise them and can do so safely. Then catch the water, protect nearby belongings and dry the surrounding area.
Photographs and accurate notes can help a heating professional diagnose the fault quickly. Avoid dismantling fittings, opening the boiler or relying on temporary sealants as a permanent repair. Corrosion, damaged seals and worn valves may require specialist attention, while a weakened radiator body may need replacement.
A prompt response can greatly reduce harm to flooring, plaster and furniture. Most importantly, treating a leaking radiator as a genuine heating-system fault rather than a harmless drip helps protect the property and prevents a small escape of water from becoming a costly emergency.